On this page
Gravel does more in your fish tank than just holding plants and adding to the tank’s aesthetics. It also acts as a filter and a home for beneficial bacteria. However, without regular cleaning, it can trap waste, food, and debris, leading to potential health risks for your fish and larger problems for the balance of your water chemistry. This guide will take you through why cleaning fish tank gravel is important, how to do it effectively, and some lesser-known tips to keep your aquarium in tip top shape. If you’re not looking for the more detailed answer below, aim to clean a portion of your gravel each week using a gravel cleaner.
Why Cleaning Fish Tank Gravel is Important
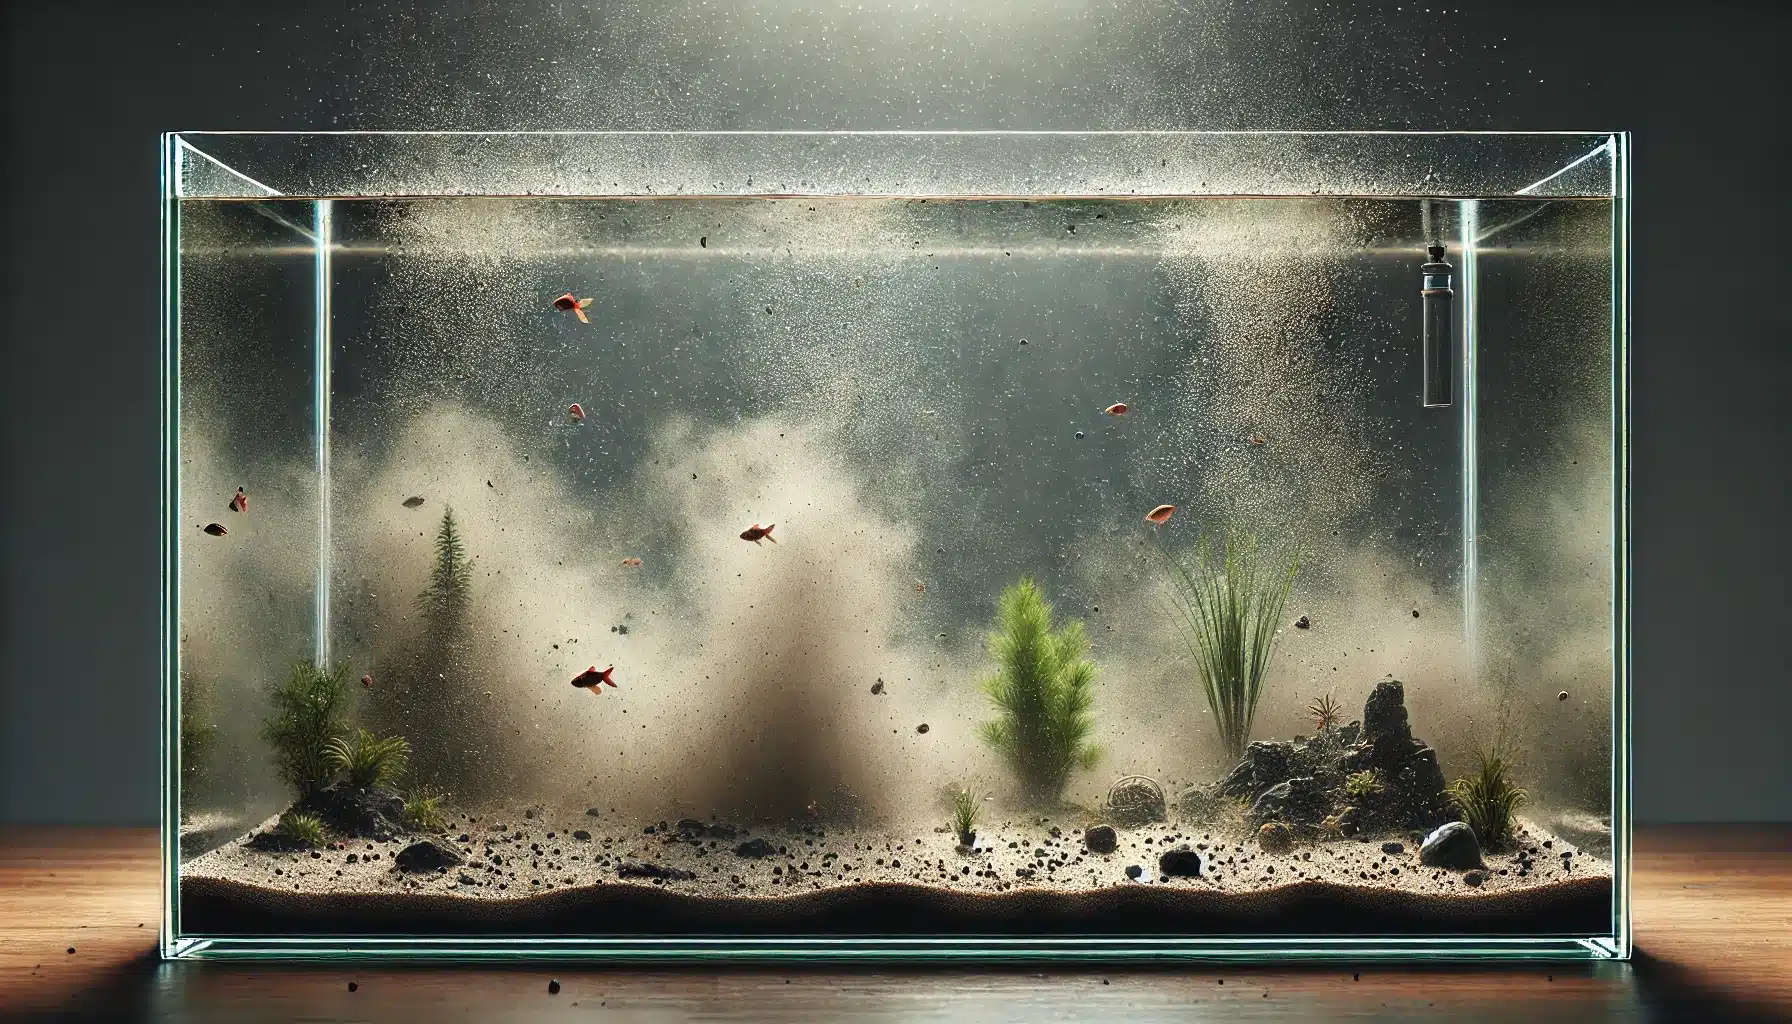
Gravel supports a healthy ecosystem in your tank, but it can also become a hotspot for waste buildup if not maintained properly. A gravel bed will accumulate the uneaten food and fish waste. As this debris decomposes, it releases harmful substances including ammonia. This can rapidly overwhelm your tank’s cycle, leading to spikes in both ammonia and nitirites, which can stress or even kill your fish.
The resultant spike in nitrates can create a perfect breeding ground for algae, which can lead to cloudy and unpleasant-looking water. And the decomposing matter can also encourage those less friendly bacteria, which can bloom in the tank and also infect your fish.
How Often Should You Clean Your Fish Tank Gravel?
So, how often should it be cleaned? Well, this frequency can depend on various factors, including your tank’s setup, the number of fish and also how ‘messy’ those fish species are. However, a good rule of thumb is to start by doing a section of the gravel each week. I aim for ~1/3 at a time, working around my decorations. Then less frequently, I do a deep clean of the gravel under the decorations – though this can temporarily disturb a lot of particulate into the water column. With time, you’ll get a sense of how quickly the waste builds up in your tank, and can adjust your regular maintenance schedule accordingly.
Factors Affecting Cleaning Frequency
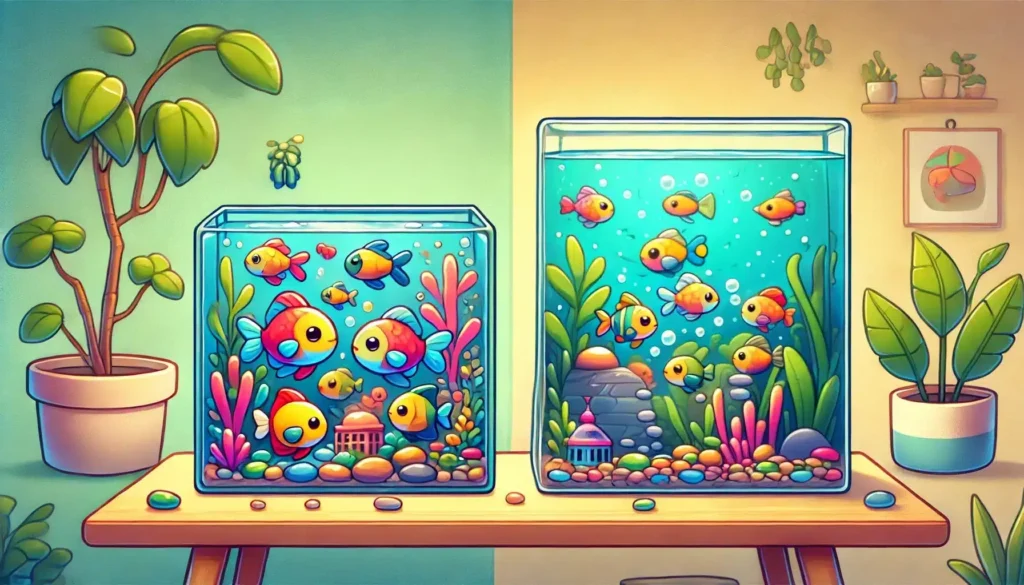
Tank Size and Bioload: As I’m sure you have already guessed, the higher the stocking ratio of fish to tank space, the more frequently you will need to clean your aquarium gravel. More fish means more waste—and more waste settling in the gravel.
Type of Substrate: Aquarium gravel comes in various sizes and densities. Fineer substrates like sand can compact and trap waste, though less typically falls between those gaps. While, while medium-sized gravel allows debris has larger holes and thus may hold more waste if given the time to accumulate. (It is, however, easier to vacuum.)
Tools and Equipment for Cleaning Aquarium Gravel
There’s nothing overly complex needed to clean the gravel in your tank. In fact, the simplier the equipment, the better in most cases here.
Fish Tank Vacuum Cleaners or Gravel Siphons
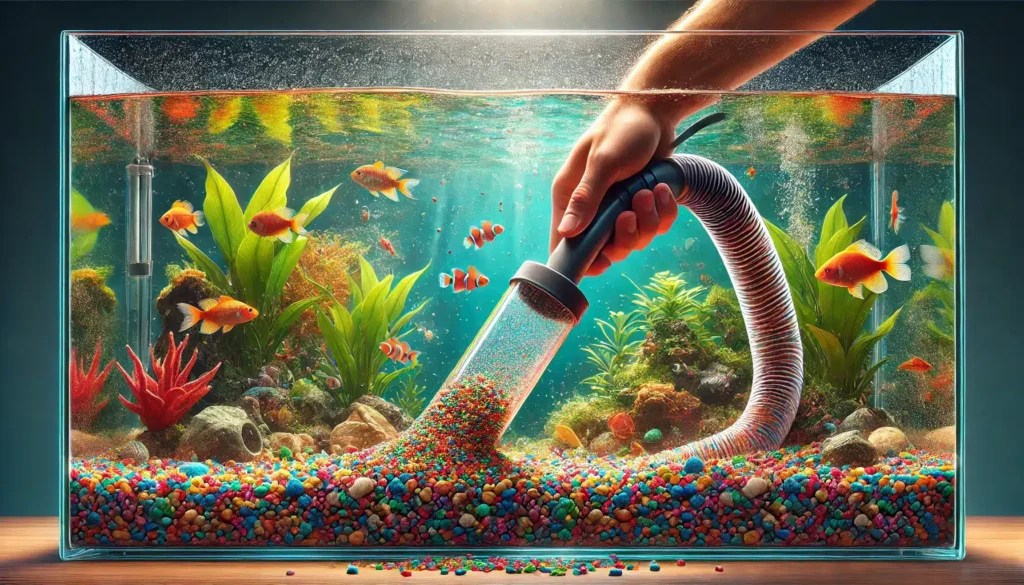
An aquarium gravel vacuum is THE essential tool. In it’s simplest form, it will look like a hose with a cylindrical tube attached on one end. This tool enables you to siphon the water and debris out of the tank while leaving the gravel in place. Some models also come with adjustable flow rates, which can be ideal for tanks with delicate inhabitants like shrimp or fry. But the basic model will do just fine in most cases – that is all that I use.
These tools come in a range of sizes and shapes, to accommodate different tank sizes and depths. Aim for something that will allow you to easily reach the bottom of your tank but still allow you the space to move it around any plants and decorations you might have in there.
Alternatives to Specialized Tools
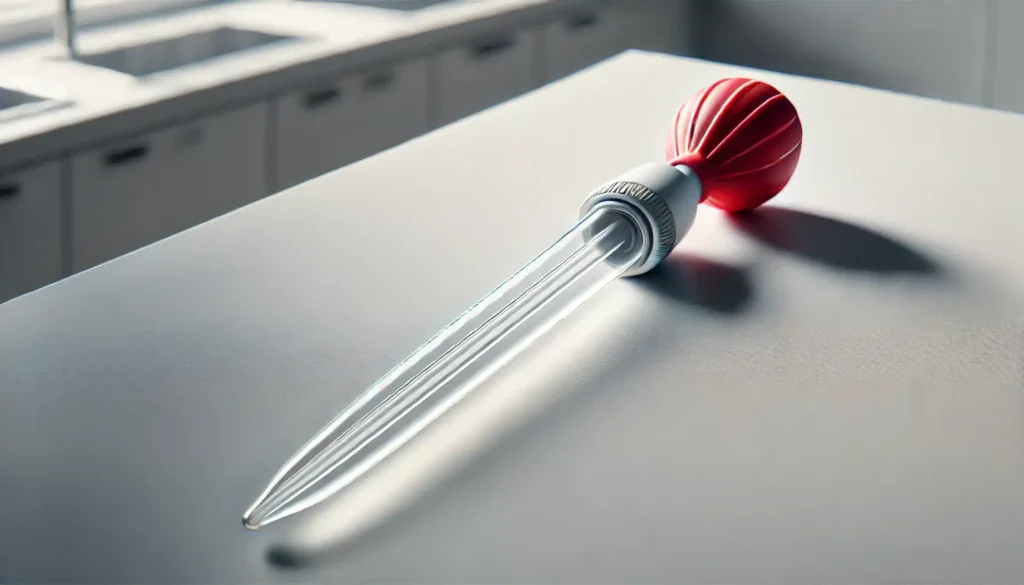
If you don’t have a gravel vacuum, a turkey baster can work well for spot cleaning small tanks. It’s a gentle and inexpensive option for tanks with sensitive fish or shrimp.
The Humble Bucket
Don’t forget to bring your bucket when looking to vacuum the gravel in your tank, as that water needs to collect somewhere. I recommend picking up a white bucket for this job if you can lay your hands on one. It’s much easier to see if you’ve accidently sucked up any small fry or shrimp when the bucket is white.
Step-by-Step Guide to Cleaning Fish Tank Gravel
The below steps will walk you through cleaning the gravel in your fish tank.
Preparing Your Tank for Cleaning
Unplug any electrical equipment like filters and heaters for safety.
Remove (or move to one side) ornaments to give you easier access to the gravel.
Using a Gravel Vacuum
Submerge one end of the vacuum in the tank and the other in a bucket.
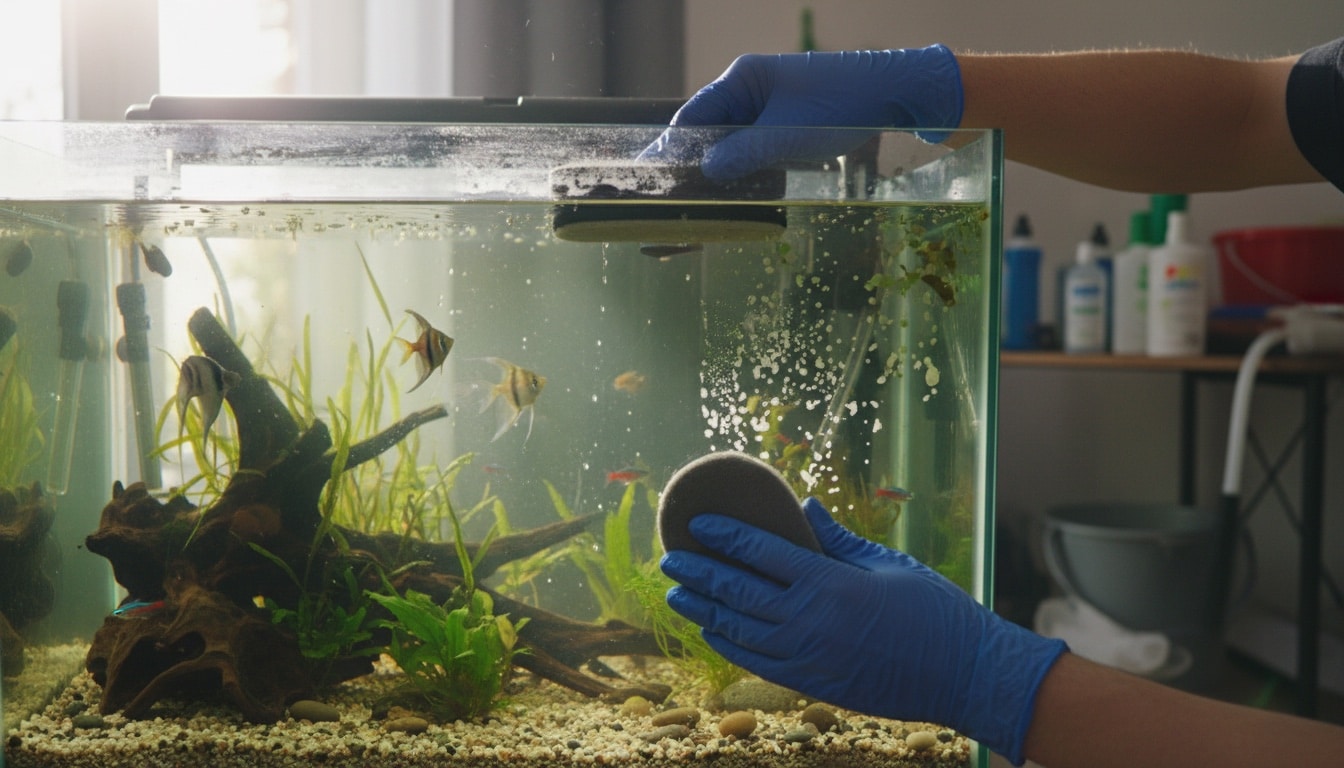
Start the siphon and gently press the vacuum into the gravel. You should see the debris begin to be sucked out while the gravel stays in place. Keep the siphon in place until the water starts to run clear. Then move to the next patch.
Work in sections, cleaning one-third to one-half of the gravel during each session to preserve beneficial bacteria. Remember, these help to maintain the nitrogen cycle in your tank, so it’s important to leave a healthy amount in your tank at any one time.
Cleaning Gravel Without a Vacuum
For small tanks, you can stir the gravel manually to clean aquarium gravel and loosen debris. Then, you can use a turkey baster or cup to remove the dirty water. For our smaller shrimp tanks, we use a turkey baster for spot cleaning, I like this one as the pattern prevents it from rolling away. Then, for days when changing larger amounts of water we will just use a cup or jug to have more control over the rate of water exchange due to the smaller tank volume.
Tips for Cleaning Gravel in Tanks with Live Plants
Be cautious around plant roots to avoid disturbing them. Spot clean the gravel near the plants instead of vacuuming deeply in those areas. The plants will utilise any leftover debris that remains around their root systems.
How to Maintain Clean Fish Tank Gravel Between Deep Cleans
Regular aquarium maintenance can minimize the need for deep cleaning sessions.
Regular Spot Cleaning
Use a turkey baster to remove debris from the surface of the gravel between scheduled cleanings. This is particularly helpful after feeding protein-rich foods like bloodworms.
Controlling Debris and Algae
Introduce bottom-dwelling fish or invertebrates like Corydoras catfish (only on sand, not gravel as it can damange their barbels) or Malaysian trumpet snails to help maintain clean fish tanks. These natural cleaners sift through gravel and reduce debris buildup.
Don’t overfeed your tank, and, if you have slow or picky eaters, consider feeding in a small dish so that any leftovers can be easily removed from the tank.
Washing New Gravel
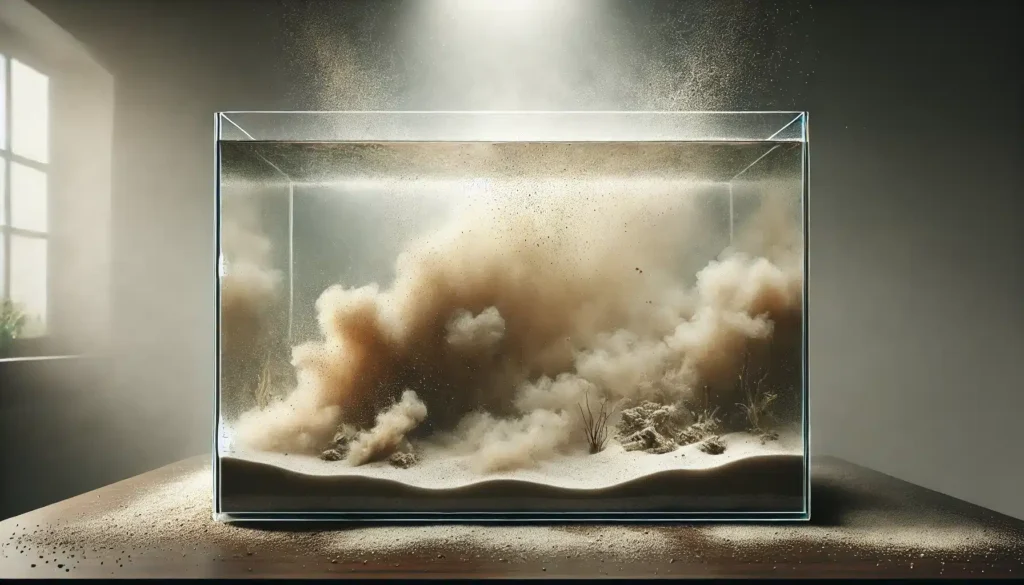
Before adding new gravel to your aquarium, remember to wash it thoroughly to remove any dust, debris, or impurities. This will help prevent cloudiness in the water and will save a lot of follow-up cleaning sessions that will happen if you skip this step. Here’s how to wash new gravel:
Initial Rinse: Place the new gravel in a colander or strainer and rinse it under running water. This will help remove any loose debris and dust.
Soak in Warm Water: Transfer the gravel to a bucket and soak it in warm water. This step helps to loosen any remaining impurities that might be clinging to the gravel.
Stir the Gravel: Gently stir the gravel in the bucket to release any trapped debris and to make sure that all particles are dislodged and can be rinsed away.
Final Rinse: Return the gravel to the colander or strainer and rinse it again under running water. Continue rinsing until the water runs clear, indicating that all impurities have been removed.
Repeat if Necessary: If the water is still cloudy after the initial rinse and soak, repeat the soaking and rinsing process until the water is clear.
Consider a final rinse using dechlorinated water: this step is optional, but a good way to make sure that you’re not introducing any chemicals to your tank water that can disrupt the nitrogen cycle or harm your fish.
Frequently Asked Questions
Can Cleaning Gravel Harm Fish?
Not if done correctly. Avoid sudden or excessive cleaning, and ensure the gravel vacuum flow isn’t too strong for smaller fish or shrimp.
How Do You Clean Gravel in a Shrimp Tank?
Attach a sponge or fine mesh (such as an old pair of tights/stockings) to the vacuum intake to prevent shrimp from being sucked up. Use gentle and use targeted cleaning to avoid stressing the shrimp.
Should I Remove Gravel for Cleaning?
No, it’s unnecessary and disrupts the colonies of healthy bacteria living in the gravel. Cleaning in place with a vacuum is much more effective and safer for your tank’s ecosystem.

